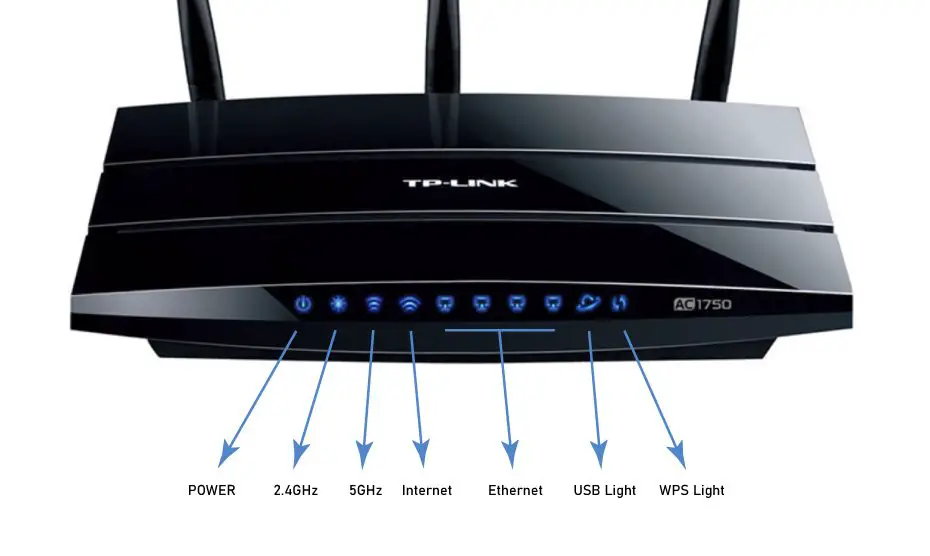
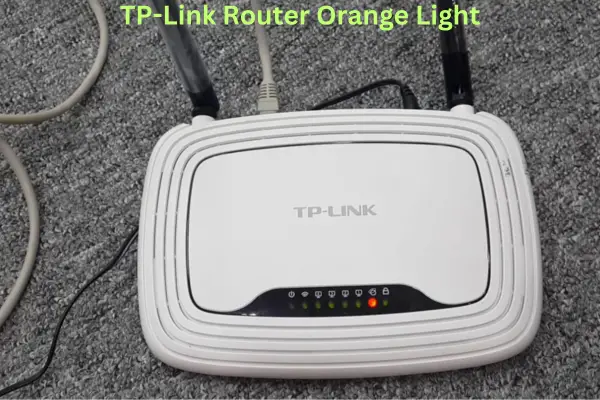
Like every other router, the TP-Link Router has various indicator lights that serve specific purposes to give us essential information about the device’s status.
In various situations, the indicator lights on the TP-Link router can exhibit different states, such as being off, blinking, or solid. In this article, I will concisely explain the TP-Link router lights, their meanings, and the instances when they indicate specific issues.
Understanding the different states of the indicator lights is crucial for troubleshooting and diagnosing problems with the router.
Let’s delve into the details of each light and its significance:
1. Power Light
The power light is the first light that turns on when we start the router. It shows if the router is getting power. If the power light is off, it means there’s a problem with the power connection or supply.
2. Wi-Fi Lights
The Wi-Fi lights represent the status of the wireless connection. There are two Wi-Fi lights, one indicating 2.4 GHz frequency and another 5 GHz.
Both the 2.4GHz and 5GHz indicator lights can remain solid at the same time, and you also have the option to turn off each light individually. When these lights are solid, it indicates that the Wi-Fi is active and devices can successfully connect to the network.
However, if either of the lights is blinking or off, it may indicate an issue with the Wi-Fi signal or configuration that needs to be addressed.
A. 2.4Ghz light
The 2.4GHz connection offers a slower speed but provides a wider coverage area. However, it is more prone to interference from other devices operating on the same frequency.
Therefore, the 2.4GHz network is beneficial in outdoor spaces where Wi-Fi coverage over a longer range is required, despite the potential for interference
B. 5Ghz Light
On the other hand, the 5GHz network provides faster speeds but has a shorter range than the 2.4GHz network. This makes it more advantageous for indoor spaces when you are in close proximity to the Wi-Fi device.
The 5GHz network is ideal for situations where high-speed internet connectivity is crucial, such as streaming high-definition content or online gaming, within a limited range from the router.
3. Internet Light
This light shows the status of the internet connection powered by TP-Link. When it’s solid, it means the internet is successfully connected and working.
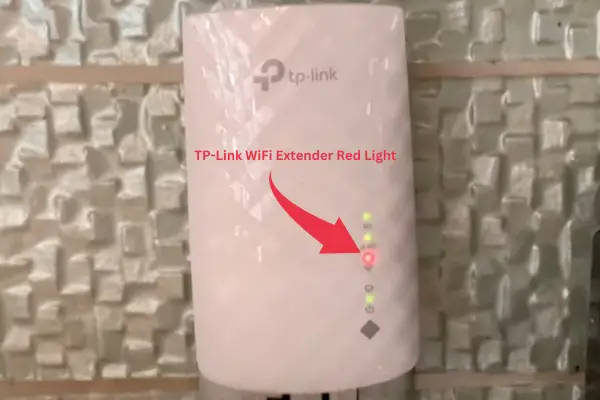
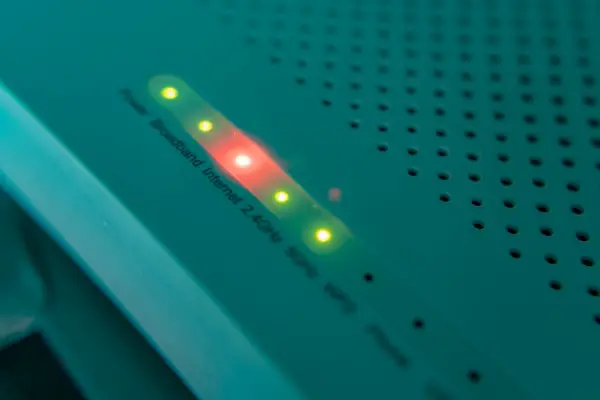
However, if the light is off, it means the Ethernet cable is not plugged in correctly. But if it keeps blinking or turns orange/red, it indicates that there is no active internet connection due to weak signals or signal loss.
In such situations, it is recommended to troubleshoot the connection by checking the modem and router settings or contacting the internet service provider for further assistance.
4. LAN/Wired Connection Lights
The lights for LAN/Wired Connections on the router show if the devices are connected to the router using Ethernet cables. These lights tell us if the connections are stable and working.
If the LAN/Wired Connection Lights are off or blinking, there might be a problem with the connection between the router and the device. It could be because the Ethernet cable is not plugged in securely, or there’s an issue with the device itself.
To fix this, check the connections by ensuring the Ethernet cables are correctly plugged in on both ends.
You might need to investigate further if the lights stay off or keep blinking even after checking the connections. Look for any cable damage or consider getting technical help if necessary.
4. USB Light
If your TP-Link router has a USB port, this light shows if a USB device like a printer or external storage is connected.
This USB light helps you know if the USB connection is working correctly.
When the USB light is off or blinking, it could mean there’s no device connected, an issue with the USB connection, or a problem with the USB device itself. It’s a sign that something might not be working correctly.
If the light remains solid, it means the device is functioning correctly and ready to be used.
5. WPS Light
The WPS light (Wi-Fi Protected Setup) is a useful feature that lets you connect WPS-enabled devices to the network without entering the WiFi password.
To initiate the WPS connection, you need to press the WPS button on the router. As a result, the WPS light will begin flashing. This flashing typically continues for around 2 minutes.
During this time, enabling the WPS feature on the device you want to connect to the network is essential.
Once the WPS connection is established successfully, the WPS light will remain illuminated for the following 5 minutes before automatically turning off. If you do not utilize the WPS feature, the WPS light will always remain off.

![GPON Home Gateway Admin Login: Default Password Username [UPDATED]](https://fixzd.com/wp-content/uploads/2023/06/6-GPON-Home-router-870x570.jpg)
![DBC Router Logins: Change Wifi Name Password [UPDATED]](https://fixzd.com/wp-content/uploads/2023/06/Cover-870x570.png)